1. Connect digiGate to Gates
digiGate connects to the gate control board which is usually positioned at the gate in a waterproof box.
digiGate connects using 2 switch cables at points 1 (NO) and 2 (COM) which instruct your gate to open. These cables can be any length and thickness (we recommend 0.2mm cable).
Helpful tip: You can also install digiGate further away from the gate and use longer length switch cables (inside the nearest building for example).
digiGate must be kept waterproof (Timeguard WP401 enclosure recommended) and the gate must be set to auto close by itself if using latch and schedule features. App shut button cancels latch.
Will it work on my gate? digiGate Tech Specs

2. Connect Power Supply
digiGate comes with a choice of 3 different power options.
a) Standard micro USB plug where a nearby socket is already available. International adapters included.
b) 110-240v Mains Hardwire Kit (most popular) where you take the mains power from the gate itself. View full hardwire kit guide.
c) POE splitter (ethernet & power) where you have a POE sourced cat5/6 cable to the digiGate.
Power supply type is chosen when purchasing.
3. Connect to the Internet
Connect to the Internet using:
- Ethernet (built in).
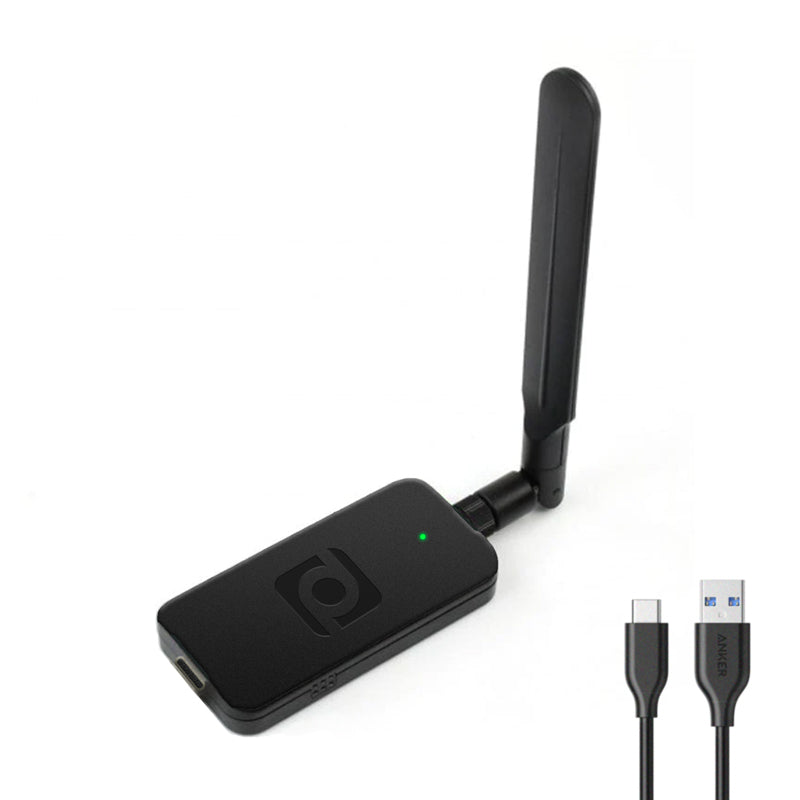
- WiFi (10 metre range standard antenna, upgradable to 35 metre range via outdoor waterproof WiFi antenna upgrade.
- 4G Internet Gateway (plug in a SIM card and connects to power and digiGate via Ethernet). Install in the same enclosure as the digiGate. Learn more.
Alternatively you can position digiGate beside your router and run long length switch cables to the gate control board.


4. Setup User Accounts
- Create unlimited app accounts for users with smartphones.
- Create unlimited 'call to open' accounts for users opening the gates with a phone call.
Users opening with a phone call do not need to download the app and are not charged when calling.
Find out more
Waterproofing
digiGate must be installed in a waterproof location/enclosure.
We recommend the Timeguard WP401 enclosure which provides enough space and also a power plug strip for ease of installation.
Image is for enclosure demonstration purposes only.
Call To Open Module (optional)
digiGate's optional 'call to open' module enables you and your users to call a number to open the gate.
Insert a SIM card with some loaded credit into the module, add approved users' phone numbers and open the gate by dialling the number.
Call to open module
iOS and Android
digiGate works with both iOS and Android devices.

digiGate Instructions
Download the hardware instruction manual, view technical specifications and watch setup video tutorials.
View instructionsProfessional Installation
digiGate can be installed by anyone. However, if you would like help with installing, we're partnered with professional & certified digiGate installers.
Find an installer Become an installer
FAQs
Will digiGate work on my gates?
digiGate will work if your gates accept a timer input (99% of controllers do) and have auto closing enabled. View our full compatibility list.
I have no WiFi or Ethernet at my gates, can digiGate work for me?
Yes. We have 3 recommendations:
- Teltonika TRB140 units provide quick and easy 4G setup for remote setups.
- You can also install digiGate in the nearest building beside the router and run switch cables to the gate controller as these can be any length.
- Ethernet-over-power devices can be used at the gates and also WiFi extenders.
Is digiGate waterproof?
No, digiGate will need to be housed in an IP rated waterproof enclosure or inside the nearest building.
The enclosure your gate control board is located in is usually large enough for digiGate as well.
